Super-Stak Accessories & Installation Services
We have all that you need for your stone application and install, including accessories and installation instructions.
Super-Stak Accessories
Accessories are critical in providing the finishing touch to any stone application. TriLite Stone, Inc offers a comprehensive line of accessory options for both exterior and interior projects. Please contact us for any questions or clarifications on style, application, or color.
Super Stak Mountain Ledge – Corner
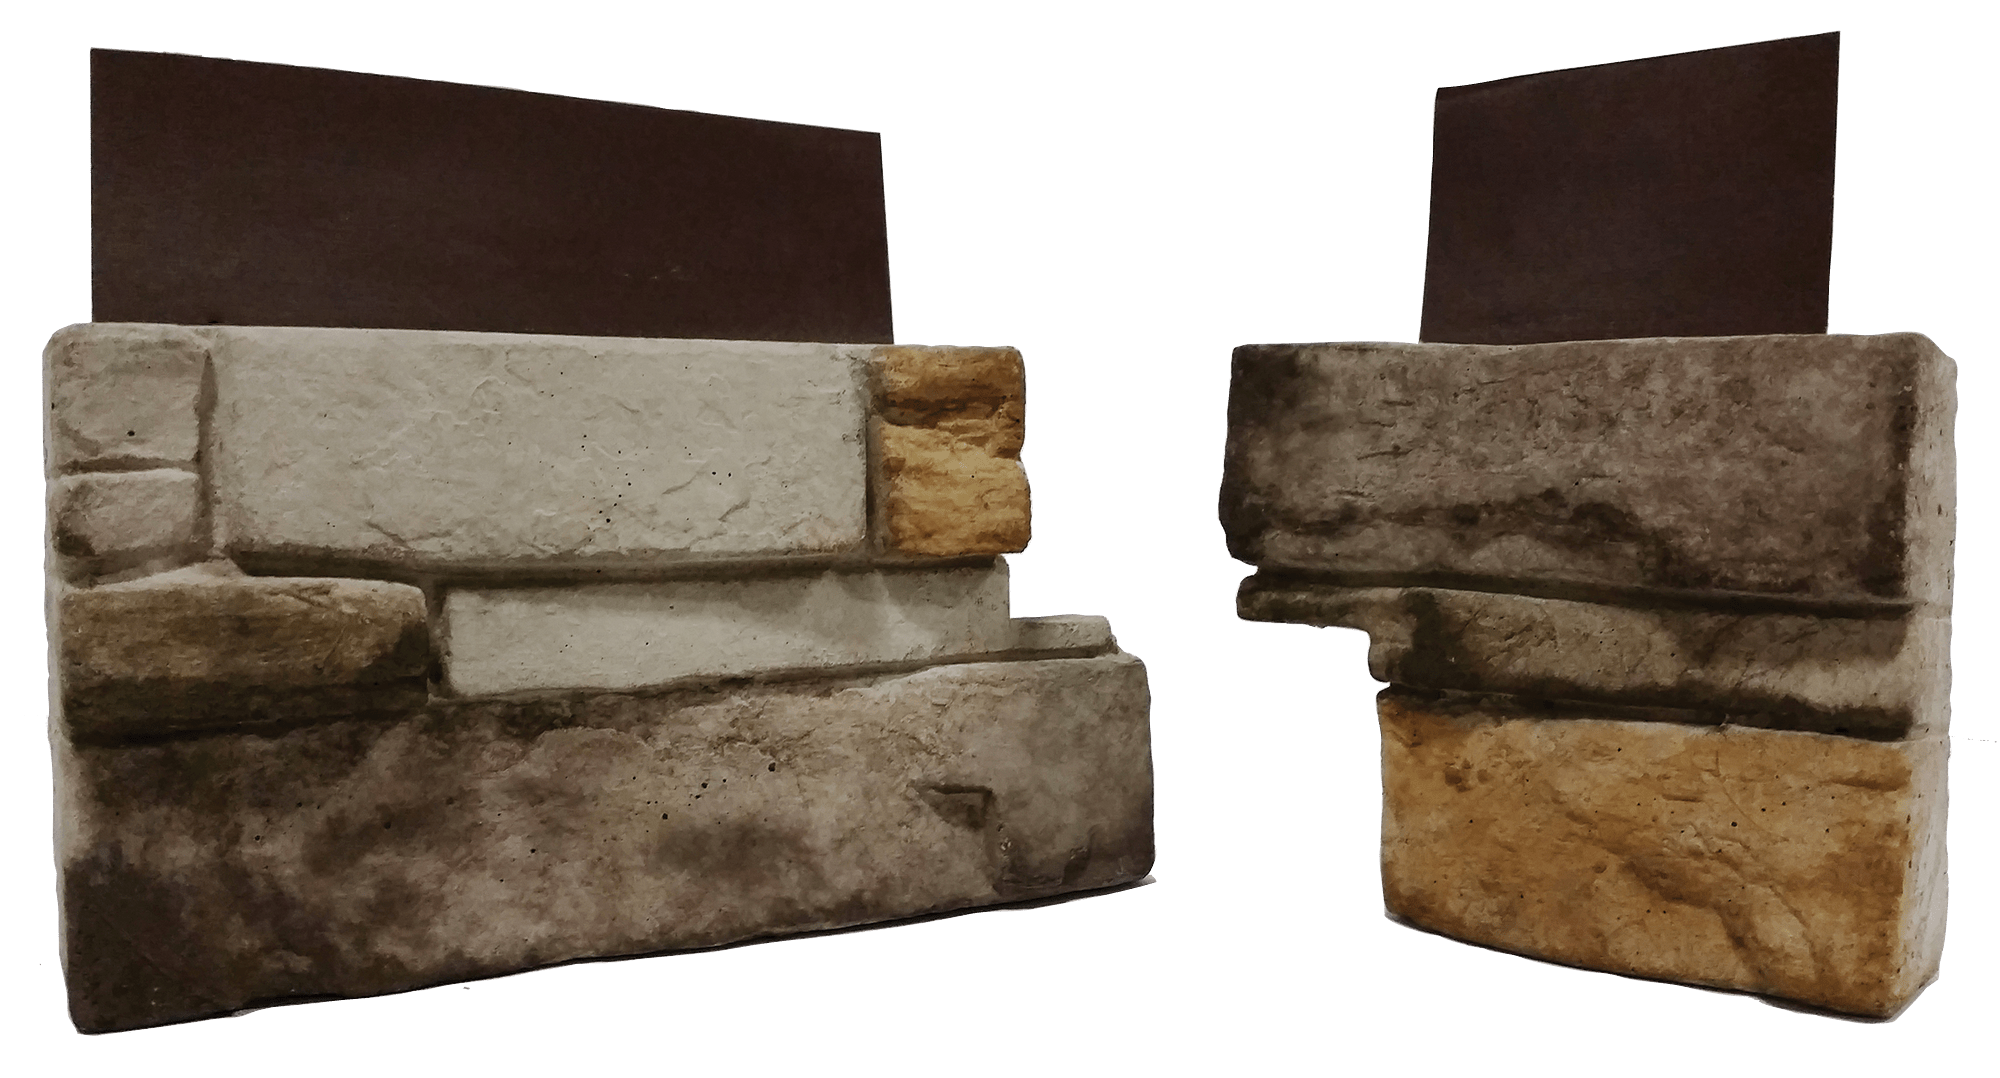
Super_Stak Dry Stack Corners – Sienna
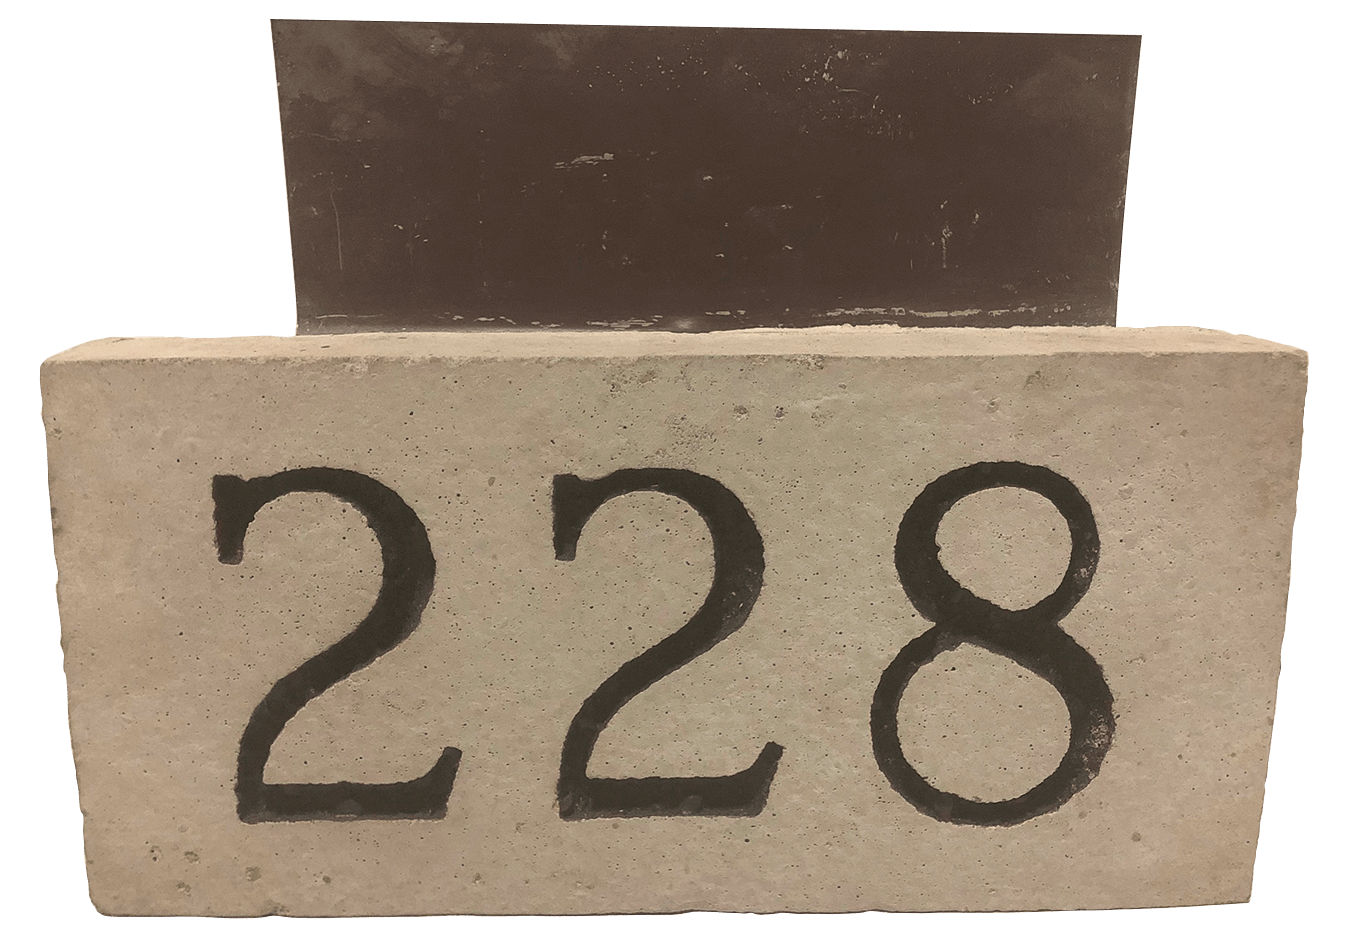
Super-Stak – Address Stone
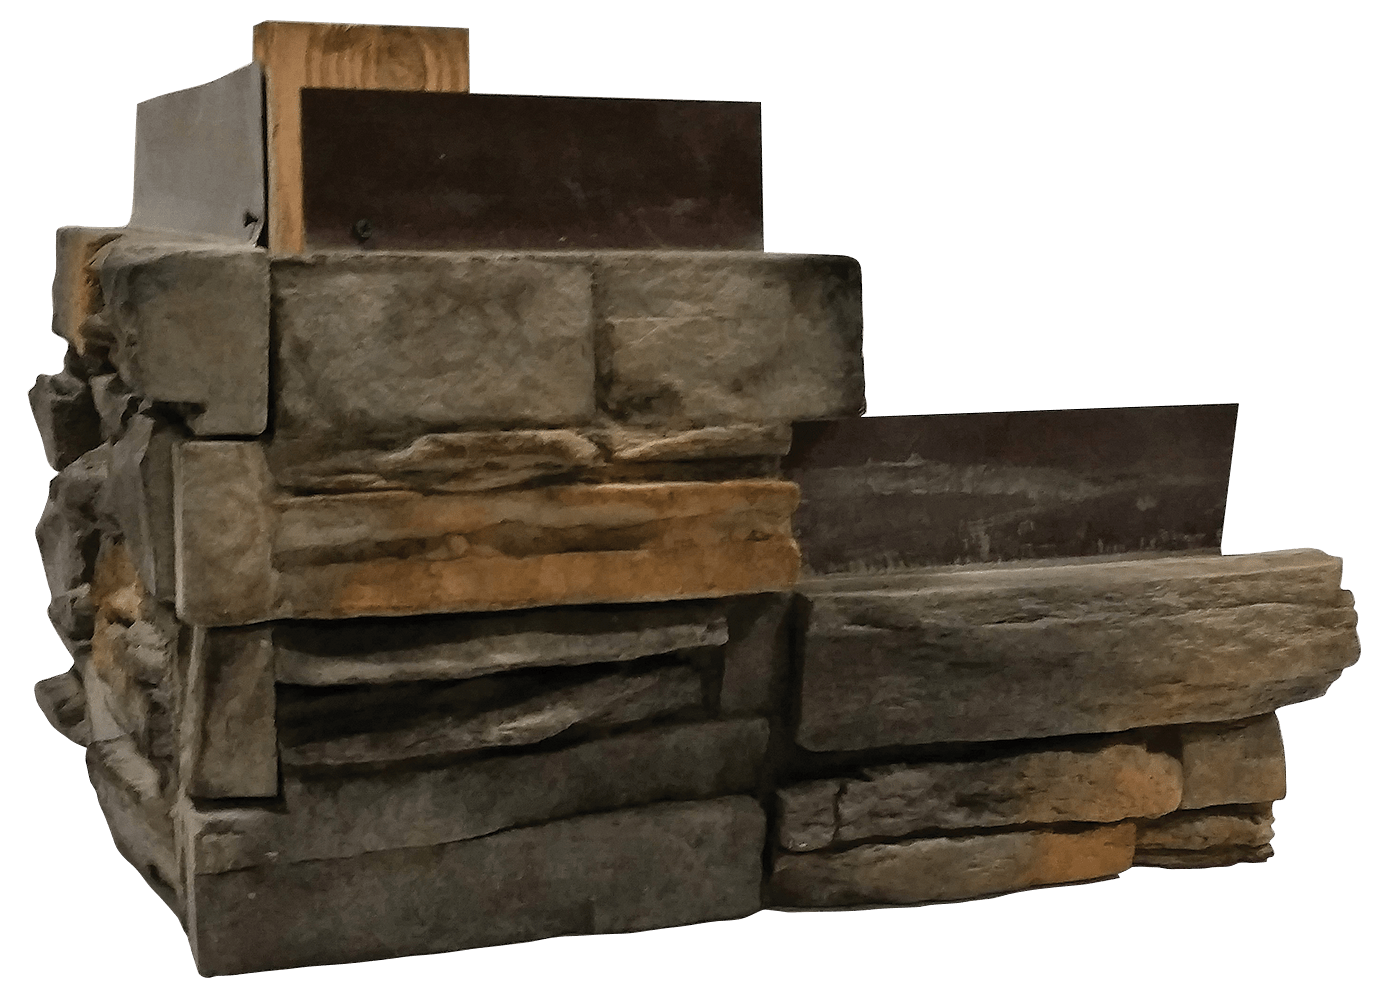
Super-Stak – Dry Stack – PostPanel – Carmel
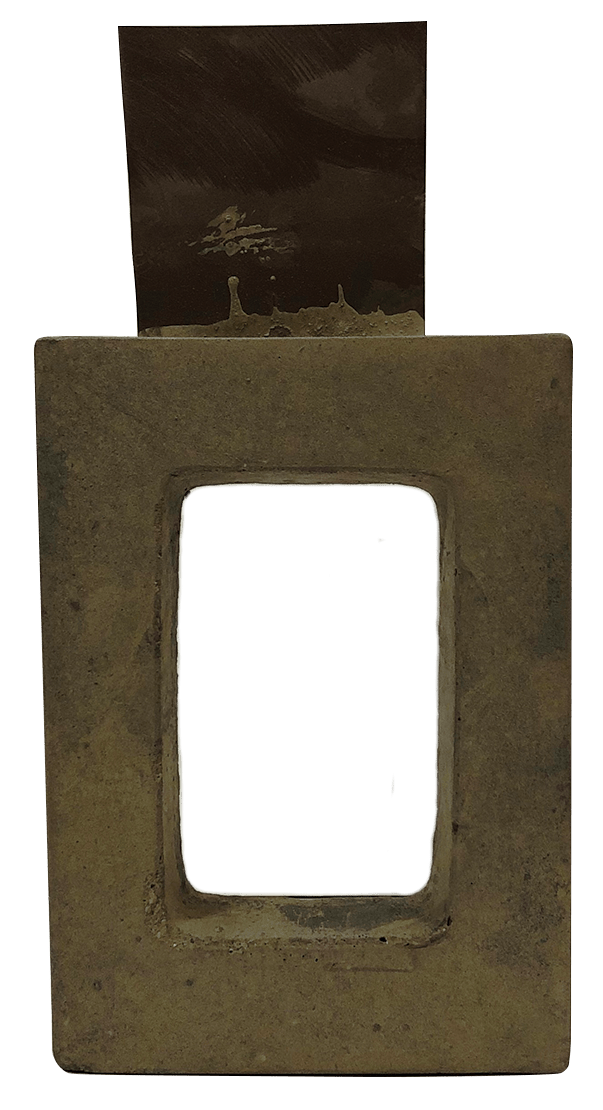
Super-Stak – Electrical Box
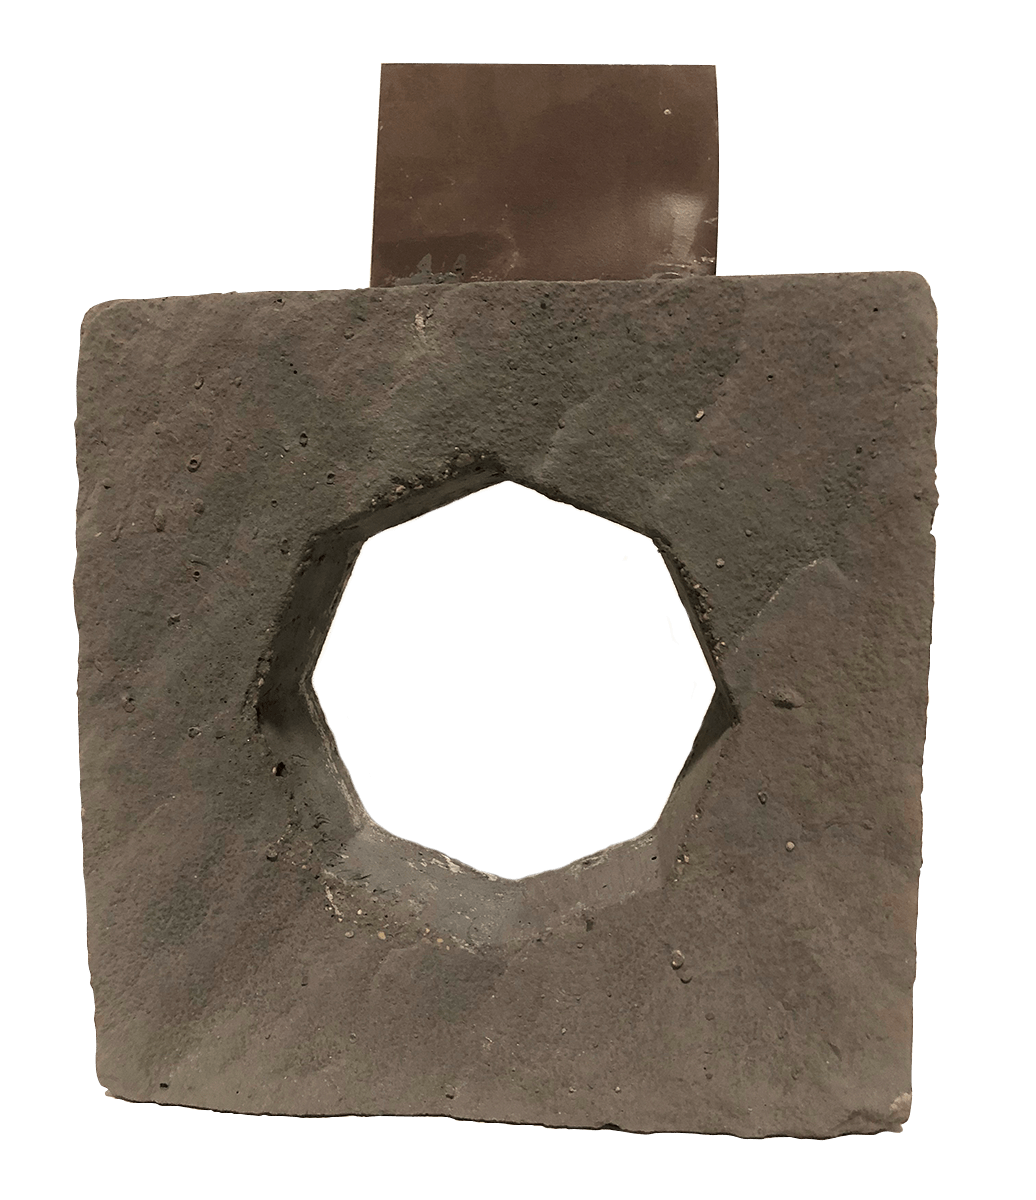
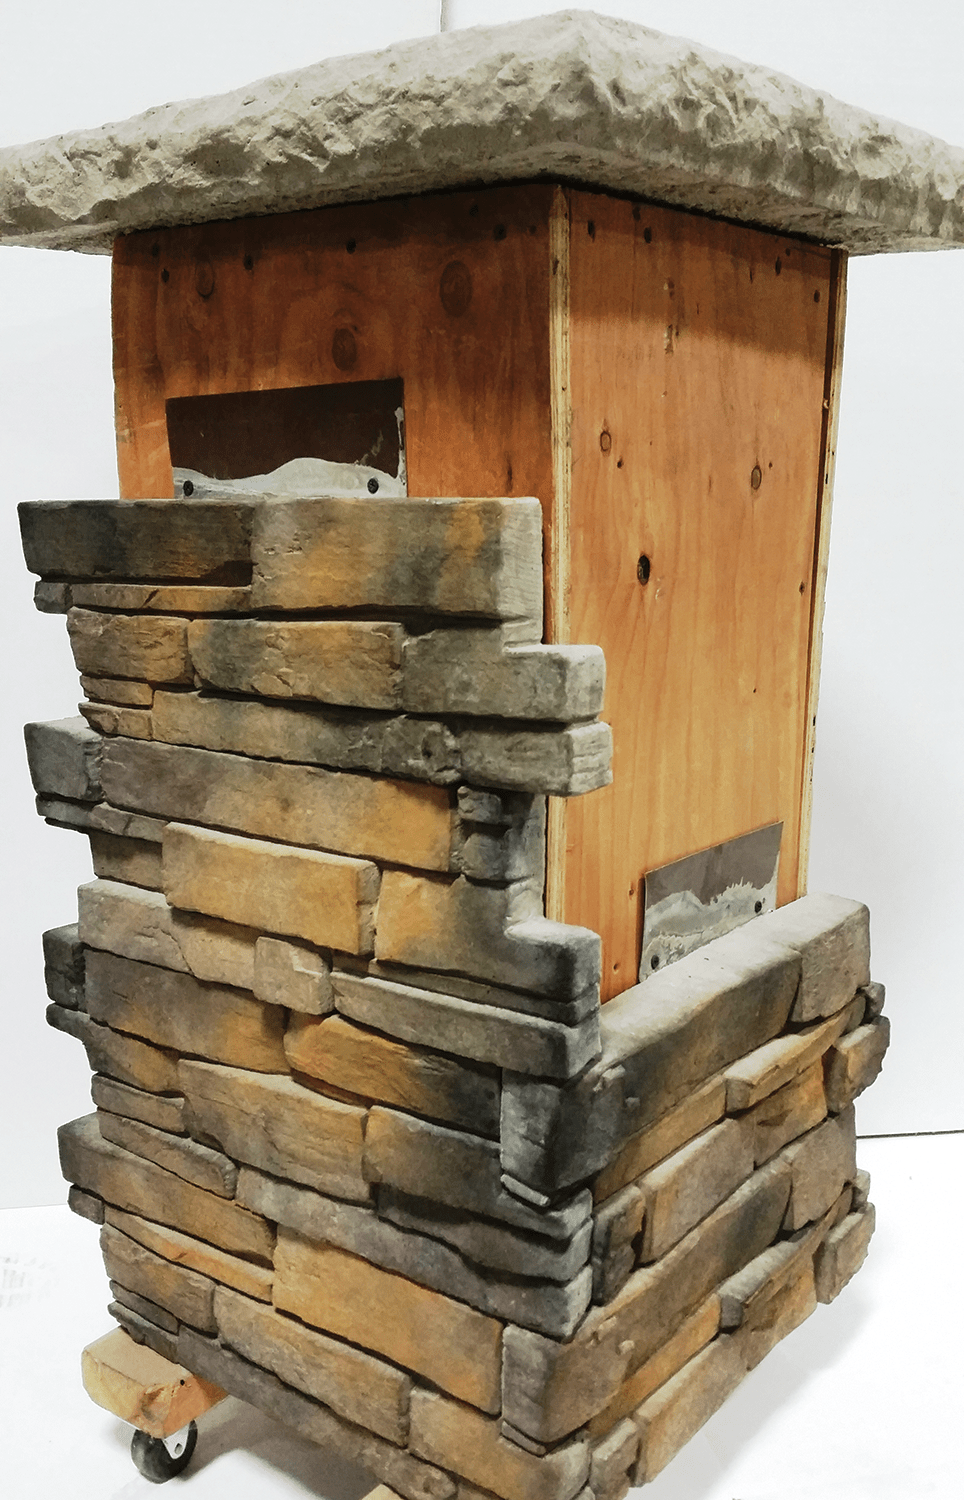
Super-Stak – Light Box
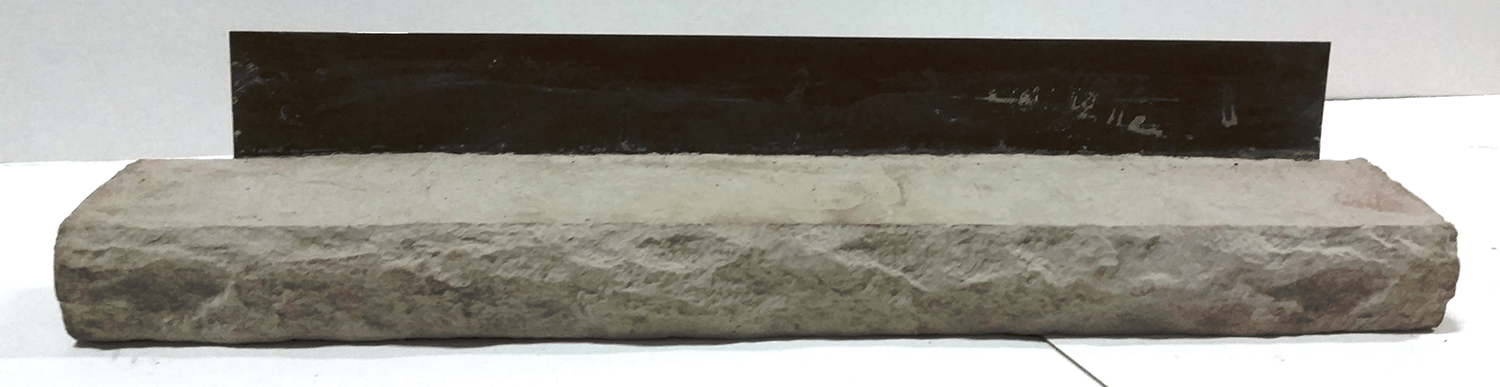
Super-Stak Sill
Super-Stak Mortarless Stone Installation
- First, ensure that a house wrap has been installed.
- Additional moisture protection is recommended by using 30 lb. tar paper (felt) and stain-free fasteners (if placed on treated wood) placed over the house wrap.
- Wrap corners with a 12-inch self-adhesive aluminum flashing or waterproof membrane on inside and outside corners. (Figure 2)
- Eight inches of waterproof membrane or aluminum flashing should be added along the bottom edge of the building. (Figure 1)
- After all the membrane or flashing is installed, Lap Stone Installation is the method to follow.
- Begin installing stone at the base. A straight and level start for the first course is always key for the perfect placement of each panel moving forward. There are a couple options to help achieve this. #1 – Tack a 2×4 as a “starter” base to place the 1st course on a level plane. Always check each panel for consistency, then remove the 2×4. #2 – Using a level, apply a 10’ J-weep as a “starter” strip (placing bottom edge of DD paper in the upturned hook of the channel). Once the initial plane is level, striking chalk lines every 6” up the wall surface will help ensure each course is straight and speed installation.
- For Dry Stack corners, alternate the short and long legs on the left and right side to avoid a seam running up the wall (Figure 4A). There must be at least one fastener from each stone attached to a stud. We recommend using stainless steel fasteners measuring 1-1/2” – 2” long. Because of the interlock design, Mountain Ledge corners can be partnered with a full flat piece and alternated every other course to achieve a stagger running up the wall (Figure 4B).
- The flashing should be put around the windows, starting at the bottom and working toward the top. The bottom should overlap the top flashing on the last section of the stone.
- Side flashing should be done after the bottom flashing; the side flashing overlapping the bottom flashing, to create a water-tight seal.
Super-Stak Installation Instructions


")
Content, including images, displayed on this website is protected by copyright laws. Downloading, republication, retransmission or reproduction of content on this website is strictly prohibited. Terms of Use | Privacy Policy